


Goodbye!
That’s where we’ll leave it, folks.
Thank you so much for joining me and Jon today, we’ve had a blast.
We hope to see you again later today when day three begins at 6:15pm AEDT.
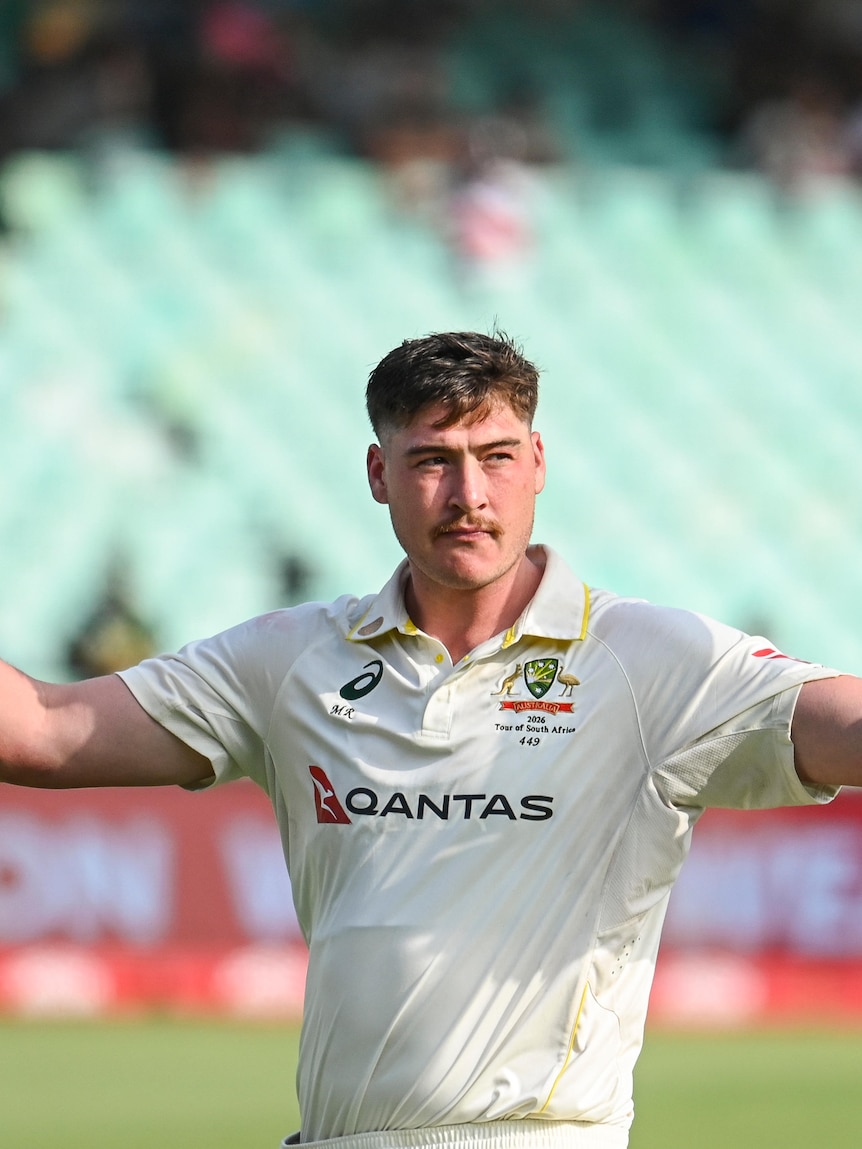
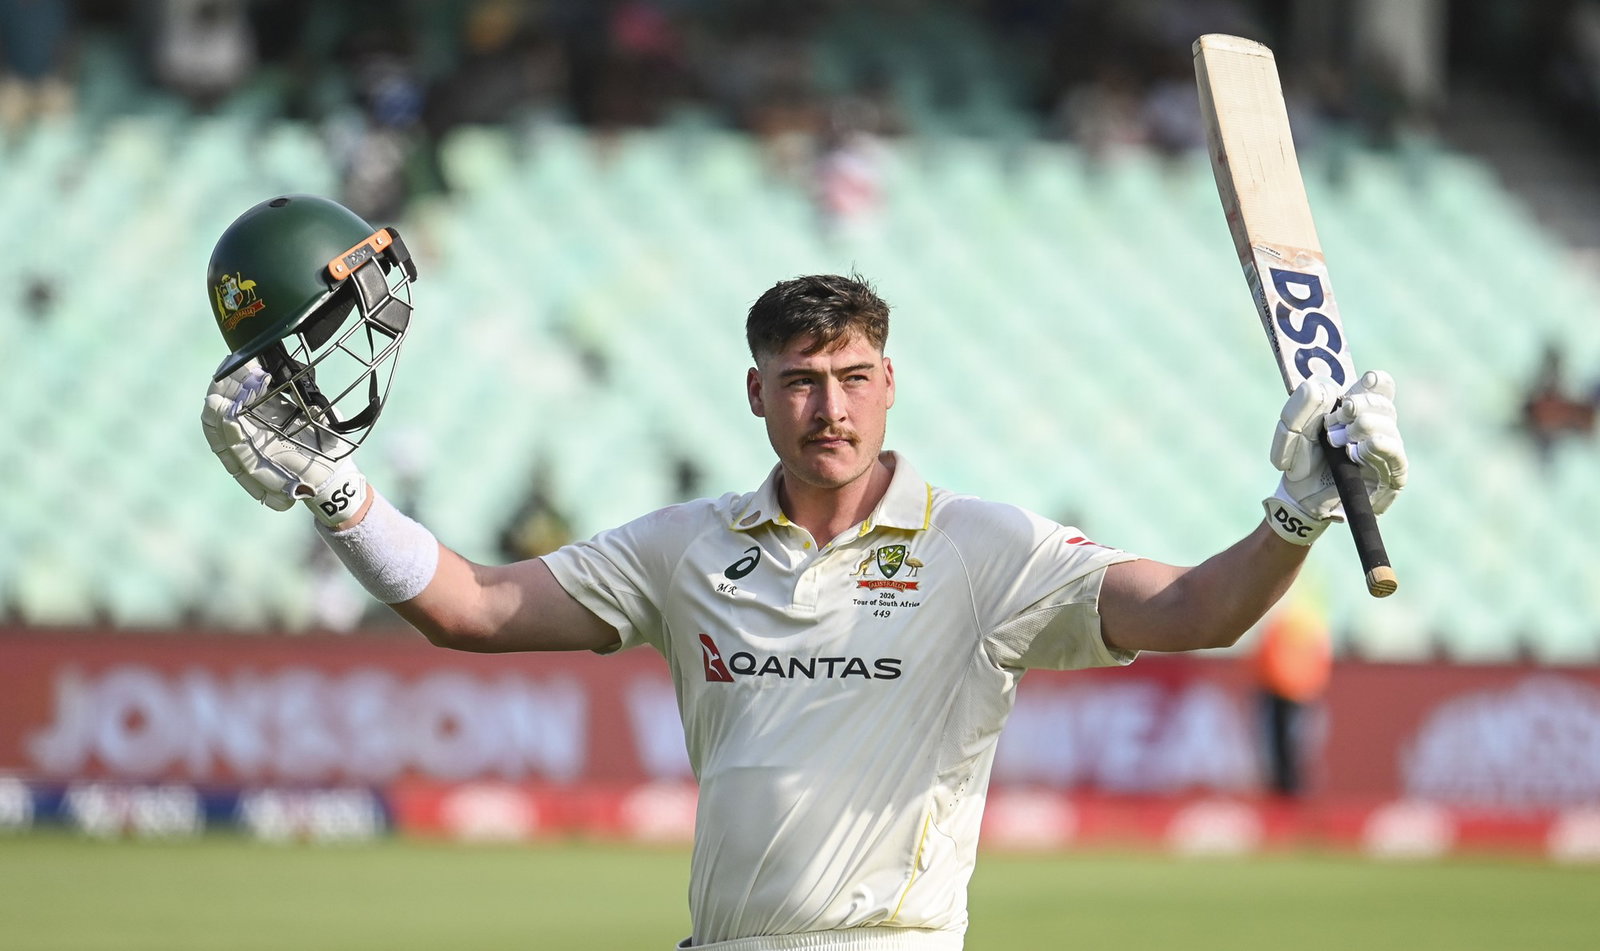
Some well-earned love for Matt Renshaw
What an extraordinany innings by Renshaw, he (with support from the tail) has given the Aussies a real chance in this match
– Mike
Is there an art to batting with the tail? It seems like Renshaw is doing a very good of it at the moment.
– Bren
Great to see Renners get a second test century, that’s been a long time between drinks and well deserved!
– Doc
I half-jokingly said when Renshaw got 50 “make it four times bigger”. Seems he listened.
– Jeremy
It is looking pretty flat out there
Not to throw shade on Renshaw’s performance but RSA showing how easy this wicket is – 3rd innings will be crucial
– Andrew
Some of those shots from Aiden Markram were pretty ominous, especially considering how poor the visibility looked to be.
Will be very interesting to see how the pitch holds up on day three.
9th over – It’s looking very, very dark out there
Surely it’s darker than when we went off yesterday?
Apparently not.
Mitch Starc exits the attack, with Pat Cummins bringing himself on in his place.
The Australian captain has Beddingham driving at a wide one outside off and his edge, which went straight to ground, earns the hosts a couple runs.
Oh no, the umpires have met in the middle…
8th over – Hazlewood gets another
Three slips and a gully remain in wait as Hazlewood continues to the expressive Markram.
The South African is defending a good one on his pegs, and then does well to re-adjust to one that jumps up at him off the pitch.
His soft hands glide the ball backward of point and the batters run a couple.
Markram is defending stoutly and that’s over.
7th over – Starc continues his spell
Four slips and a gully in place as Starc charges in from over the wicket.
He’s flashing a couple full ones across Bedingham, trying to tempt him into a drive — but the South African is watchful.
Wild down the leg side and Bedingham misses his leg glance. There’s a half-shout from Carey for caught behind but there’s no interest from any of his teammates.
Four! Full and on his pads, Beddingham doesn’t hesitate in flicking forward of square for a boundary.
6th over – Big Hoff continues
Gosh, that is sensational from Aiden Markram. It certainly isn’t a half volley from Hazlewood, but Markram is just so assured in taking one stride forward and creaming another drive through the covers for four.
Hazlewood straightens up and Markram is defending off his stumps.
Another defensive shot to end the set.
5th over – Starc goes again
How long will it be until the light reader comes out?
Beauty from Starc! He gets one to rear up off a length and Bedingham is defending with his glove. The ball balloons up but falls short of the cordon.
Shot! Starc goes full and gets a bit of tail back into Bedingham, but the right-hander is well up to the task, blazing his drive back past Starc and to the fence.
On the pegs and Bedingham is defending this one.
Oh that’s another peach from Starc, completely bamboozling a driving Bedingham outside off. Carey gathers and Starc smirks in his follow through.
4th over – Hazlewood goes again
Wide outside off and Bedingham is shouldering arms.
I hate to be the bearer of bad news, but it is looking increasingly gloomy out there…
There are some pretty intimidating clouds rolling in over the stadium and the floodlights are beating down.
Bedingham is back and defending one that rears up off a length.
Great line from Hazlewood, and Bedingham is forward and defending on off stump.
Bedingham is defending and that’s over.
3rd over – Can Starc get in on the act?
Shout! Full and straight and the ball thuds into Markram’s front pad!
Starc absolutely loves it — it’s a marathon of an appeal but the umpire is unmoved.
Australia send it upstairs…
Not out. Markram got a healthy edge on that one and Australia lose their first review.
Four! That’s a lovely shot from Markram, who takes one step forward and plays a picture-perfect cover drive.
Starc straightens up and Markram is defending.
Crack! Ooft, that’s another superlative stroke from Markram — this time a straight drive back past Starc and to the boundary.
Markram is back and defending to end the over.
2nd over continued – Hazlewood has three more
It’s David Bedingham coming in at first drop, a man new to the position in Test cricket.
And the right-hander is off the mark straight away, getting across is stumps and nudging one into the on-side for a single.
Straight again from Hazlewood, and Markram too is off the mark with a single.
Beauty! Hazlewood re-finds his line and the ball flies past Bedingham’s outside edge and through to Carey.
Over.
2nd over – It’s Hazlewood from the other end
Oh my goodness, that is a beauty first up from Hazlewood.
He only canters through his run-up but finds his area with venom, extracting some movement off the pitch and having Rickleton playing and missing outside off.
1st over – Starc opens up
Australia’s new ball destroyer is charging in for the first ball of the innings, coming over the wicket to the right-handed Aiden Markram.
Three slips in place.
Starc is bang on the money straight away, forcing Markram into a pair of defensive shots outside off.
Another probing delivery from Starc has Markram back and dead batting once more.
Markram shoulders arms for the first time in the innings to one that flashes across him.
Starc is well over the 140km/hr mark as he finishes off the opening over with another one that flashes across Markram.
138th over – We’re back!
dan